Schmartboard PSoC board - a review
You might already know Schmartboard for their SMD breakout boards. If you do, you might also know about their line of development boards (e.g. for PICs, Parallax Propellers). And they are so nice to give away some of their boards in a monthly drawing. And it was this drawing where I got my hands on a PSoC5LP board.
So a while ago a small package arrived at my doorstep - but it spend about two weeks or so in the local customs office before it got delivered. That meant it arrived me too late to be a birthday present, But I was happy nonetheless - I like PSoCs quite a lot.
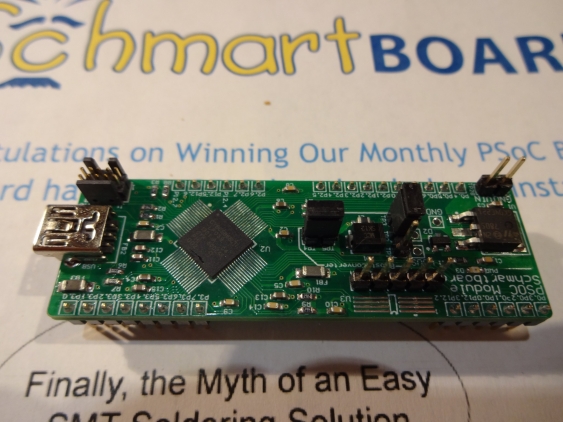
The board itself is smaller than I expected (this happens to me all the time - I always expect large bulky stuff because I forget how small all this stuff has shrunk in the last few years…). It looks quite nice - its not very dense populated. Some components are not aligned perfectly, but the soldering is without flaws.
Power handling, and missing connectors
The board can be powered either from USB, an external power supply (using an onboard 5V LDO) or using the integrated boost converter inside the PSoC (running from as low as 0.5V). For the latter, an additional inductor needs to be soldered in (though it was already populated on my board), and some solder bridges need to be closed. The board also comes with an unpopulated footprint for an I2C-EEPROM, together with a header for accessing it externall.
What I found seriously missing is a header pin to connect GND to a breadboard. The headers pointing downwards only include the port pins - the header for ground and power only points upwards. So after finding this out I removed this header, and replaced it with a larger one to be able to connect ground and power from both a breadboard or externally. Unfortunately this header is not aligned into the normal 0.1’ grid, so I needed to bend the breadboard pins a little bit sidewards.
Some programming
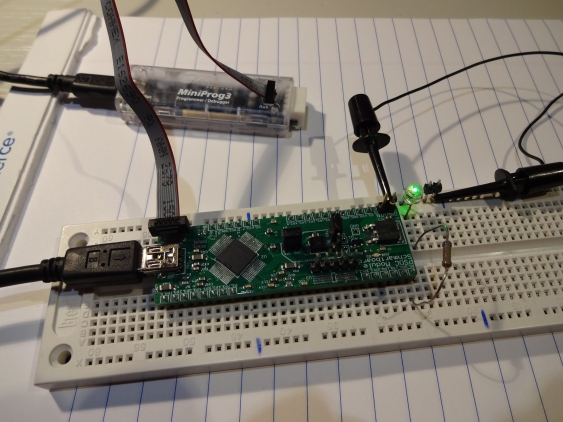
For programming one either uses an USB bootloader, or connects an external programmer - there is not on the board itself. I used the MiniProg3 I got with the Cypress CY8CKIT-001 development kit:
Test project was to blink a LED, which is not that difficult. Biggest hurdle was to find out about the missing ground connection. After that, everything worked as expected.
One thing to note is that there is no external crystal on the board. This means that the internal oscillator will be used. It provides 1% accuracy, which is accurate enough for USB, but when you need higher accuracy you need an external oscillator (the internal oscillator has also an auto-lock to the USB bus clock).
So now it really gets time to get the PSoC introduction written and posted - especially since there is PSoC4 Pioneer board on its way to me (thanks to PSoC Today). My example will be the already discussed frequency counter which will be rather simple to implement.

